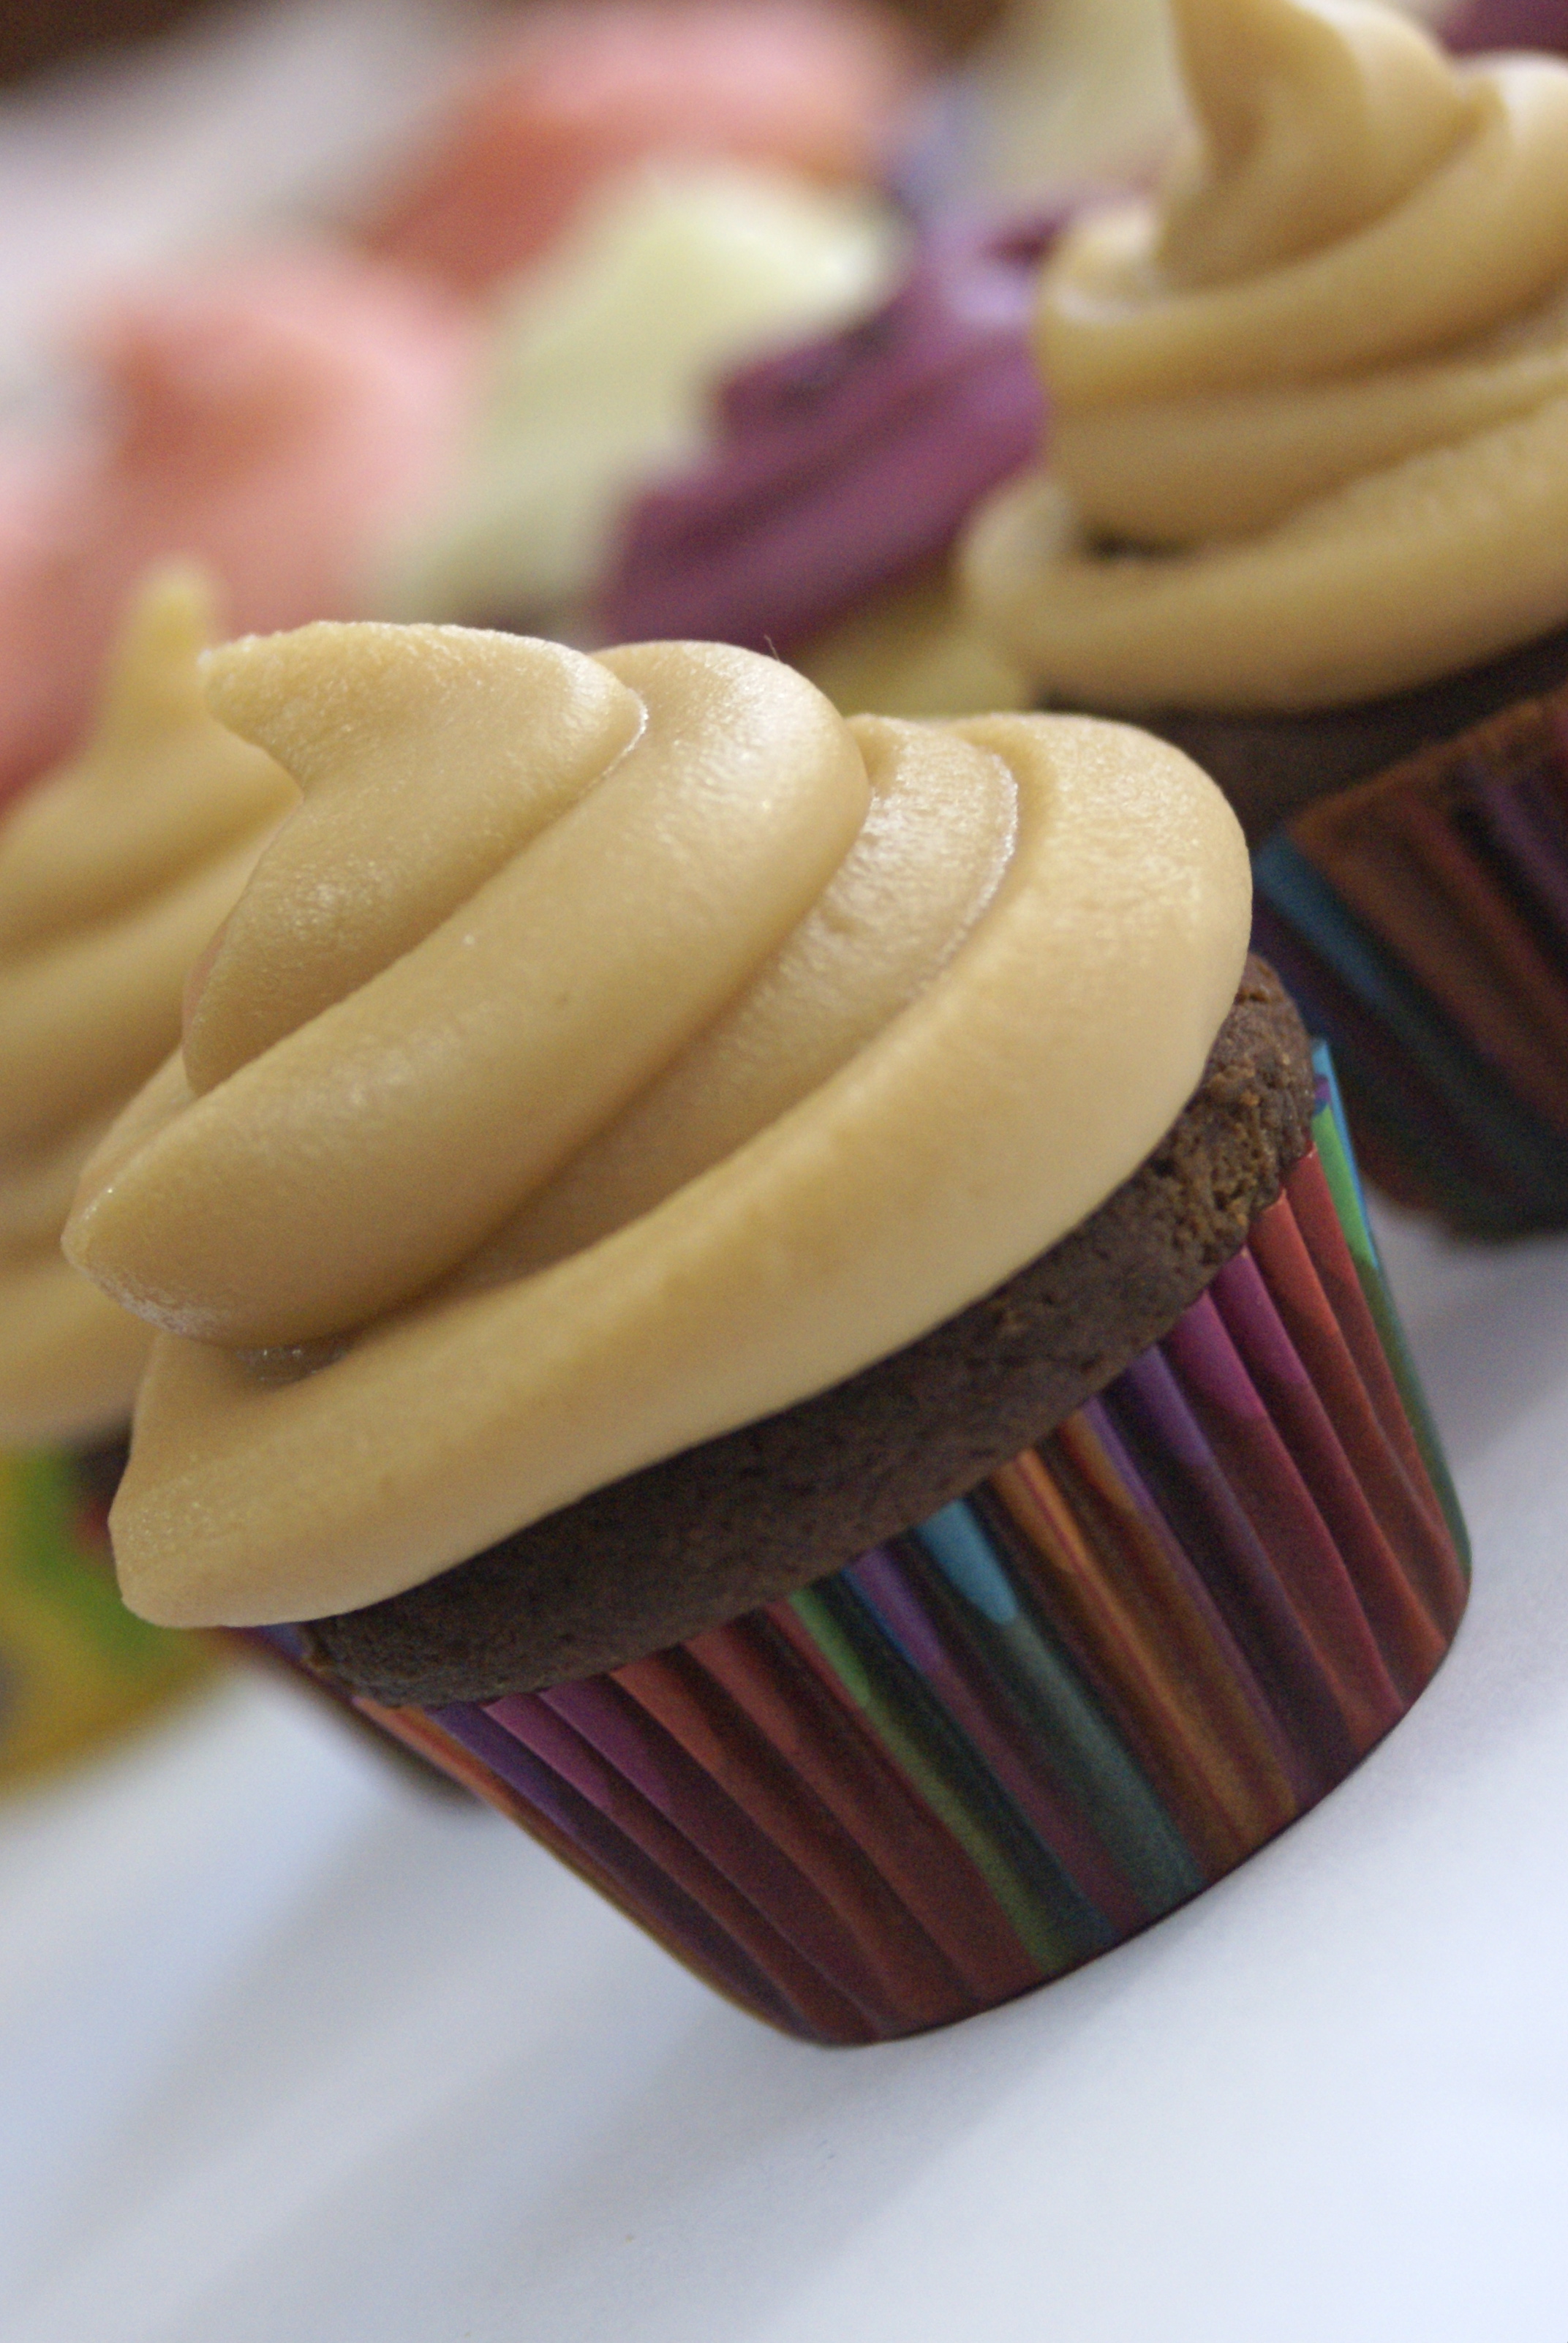
 My last post was about cupcakes… and lo and behold, I received more cupcakes that I could take pictures of! In my mind, there is no such thing as too many cupcakes… There’s always room in our house for more :). Not much more I can say about them, other than that these are delicious and beautiful! The company is called Cupcake Crazy and you can find them on the web at http://www.cupcakecrazyincincinnati.com. Hopefully you’ll see some of my pictures on their website! My favorite pic: my youngest son was helping himself to a tasty treat!
Tag Archives: Photography


Peppers and Rice
Peppers and Rice… why you ask? Just because, I guess. Well really, it’s mostly because I started hunting around in the refrigerator for what to make for dinner. I had forgotten that I purchased a bunch of Poblano peppers last week to make a rendition of a Chile Relleno casserole. The last time I made it, I had thought to doctor it up with some chicken and chipotle peppers that were marinated in an adobe sauce. Overall, the flavor of the dish was good, only, I couldn’t eat too much of it. The chipotle peppers I added were FIRE-hot! I didn’t think much of it when I was adding it. Typically, peppers are labeled as mild, medium or hot. In this case, there was no mention of the heat factor on the label and I wrongly assumed they were mild. My bad. Anyway, I decided to make a milder rendition of my chile relleno casserole as a side dish to chicken and rice. There! Peppers and Rice!
The photos were taken in natural light. I used one of my favorite lenses, a 1.4/ 50mm, and my macro lens. Truthfully, I’m more at home with the 50mm. I just love how clear most of my pictures come out. Additionally, it’s FANTASTIC in low light settings! I have to admit, I was also pretty impressed with the closeness of the macro lens since I haven’t done much shooting with it yet. On the macro setting, I was able to focus in on a small area and the rest of it blurred out. Pretty cool!


OH my Lumpia!
Two full days. That’s how long it takes me and my 9 and 3 year old daughters to make approximately 400 Filipino egg rolls, otherwise known as lumpia. In this instance, we were making my family’s version of lumpia shanghai. In comparison to the typical Chinese egg roll, lumpia shanghai is smaller, thinner and the filling is comprised mostly of meat with little vegetable ingredients. They resemble little cigars. Light golden brown, meaty filling, packed with flavor. By far, these little egg rolls are my husband’s all-time favorite of Filipino food. They are addictive, as one of our friends described them. Small enough to pop in your mouth and keep coming back for more without feeling guilty. That is until you realize you’ve eaten a dozen or so! I serve them with a sweet chili sauce. Of the 400, approximately 75%, has been consumed within the 1st few days. Thankfully, I packed away some in the freezer so we could have some another time! 
This photo shoot was an after thought. We had been so busy rolling the egg rolls and cooking them in the fryer that I almost forgot to take some photos! As for the picture I chose above, I like the focal point and the lighting isn’t too bad on the eggrolls themselves. I like that I was able to capture the golden color of the eggrolls… some of my other photos turned out too dark, or too yellow. The lumpia comes across looking crisp and fresh. After looking through the shots, my sister suggested that I stage it with a bowl or a drizzle of sweet chili sauce. Yes, adding the bright orange to red sauce probably would have made for a nice accent. A good suggestion for the future. Needless to say, I needed to take the pics quick, as my models kept dwindling in number every time I walked away!
In My Kitchen… Choco Chip Cookie Bars
I must confess. Despite the title of this post, this is not MY kitchen, technically. It’s my mom’s. We are visiting her for the holidays and my sister offered to make her famous Choco Chip Cookie Bars. As I’ve taken to copying the recipe down for the umpteenth time, she is working with my 9 and 6 year old children on making these simple, delicious chocolate-chip square bars.
While they bake, I take pictures. My challenge in this setting is the light. When they started making the bars, I had wonderful daylight streaming through the kitchen. I LOVE shooting with natural light. By the time the timer rang, daylight had faded and I am  left working with artificial light. Everything is orange it seems, so I’m having to play with the white balance to get the pictures to look pretty. Light, from what I understand, even from the best of photographers can make or break your pictures. It’s an art to get it right and to have it convey the “look” you want.
Ding-ding! The bars are out of the oven, ready for posing AND ready for eating! Mmmmm-mmm, good!
Let’s see… Fresh from the oven, nothing warms the soul as the comforting scent of freshly baked chocolate chip cookie bars. This version, lightly sweetened with the perfect blend of “cookie” to “gooey chocolate chip” ratio. The bars are soft, cake-like, and dense, similar to a brownie, without that under-baked texture. The edges are crisp with that classic brown baked flavor. I also really like that these bars aren’t overly sweet. The sweetness comes from the chips. The whole thing melts in our mouths. So yummy!
Choco Chip Cookie Bars

Choco Chip Cookie Bars
2/3 c butter (1 1/4 stick)
1 1/2 c light brown sugar
3 eggs beaten
2 3/4 c flour (sifted)
2 1/2 t baking powder
1/2 t salt
1 c chopped nuts of choice
1 pkg chocolate chips
1 t vanilla
Preheat oven to 350 degrees. Grease baking pan (13×9). Melt butter. Add sugar and blend. Cool. Add beaten egg, vanilla. Sift dry ingredients (flour, baking powder and salt). Add dry ingredients to wet mixture. Mix in nuts and chocolate chips. Pour into greased baking pan. Smooth to edges. Bake for 25-30 minutes.
We often make this without nuts due to family allergies. But you can add whatever you like. Experiment!
This recipe, according to my mom’s yellowing recipe card, came from her friend and former co-worker Molly. Thanks Molly for all the years of sweet enjoyment!
Below in the gallery are some additional pictures I had taken that day.
-

- Santa Canes

-

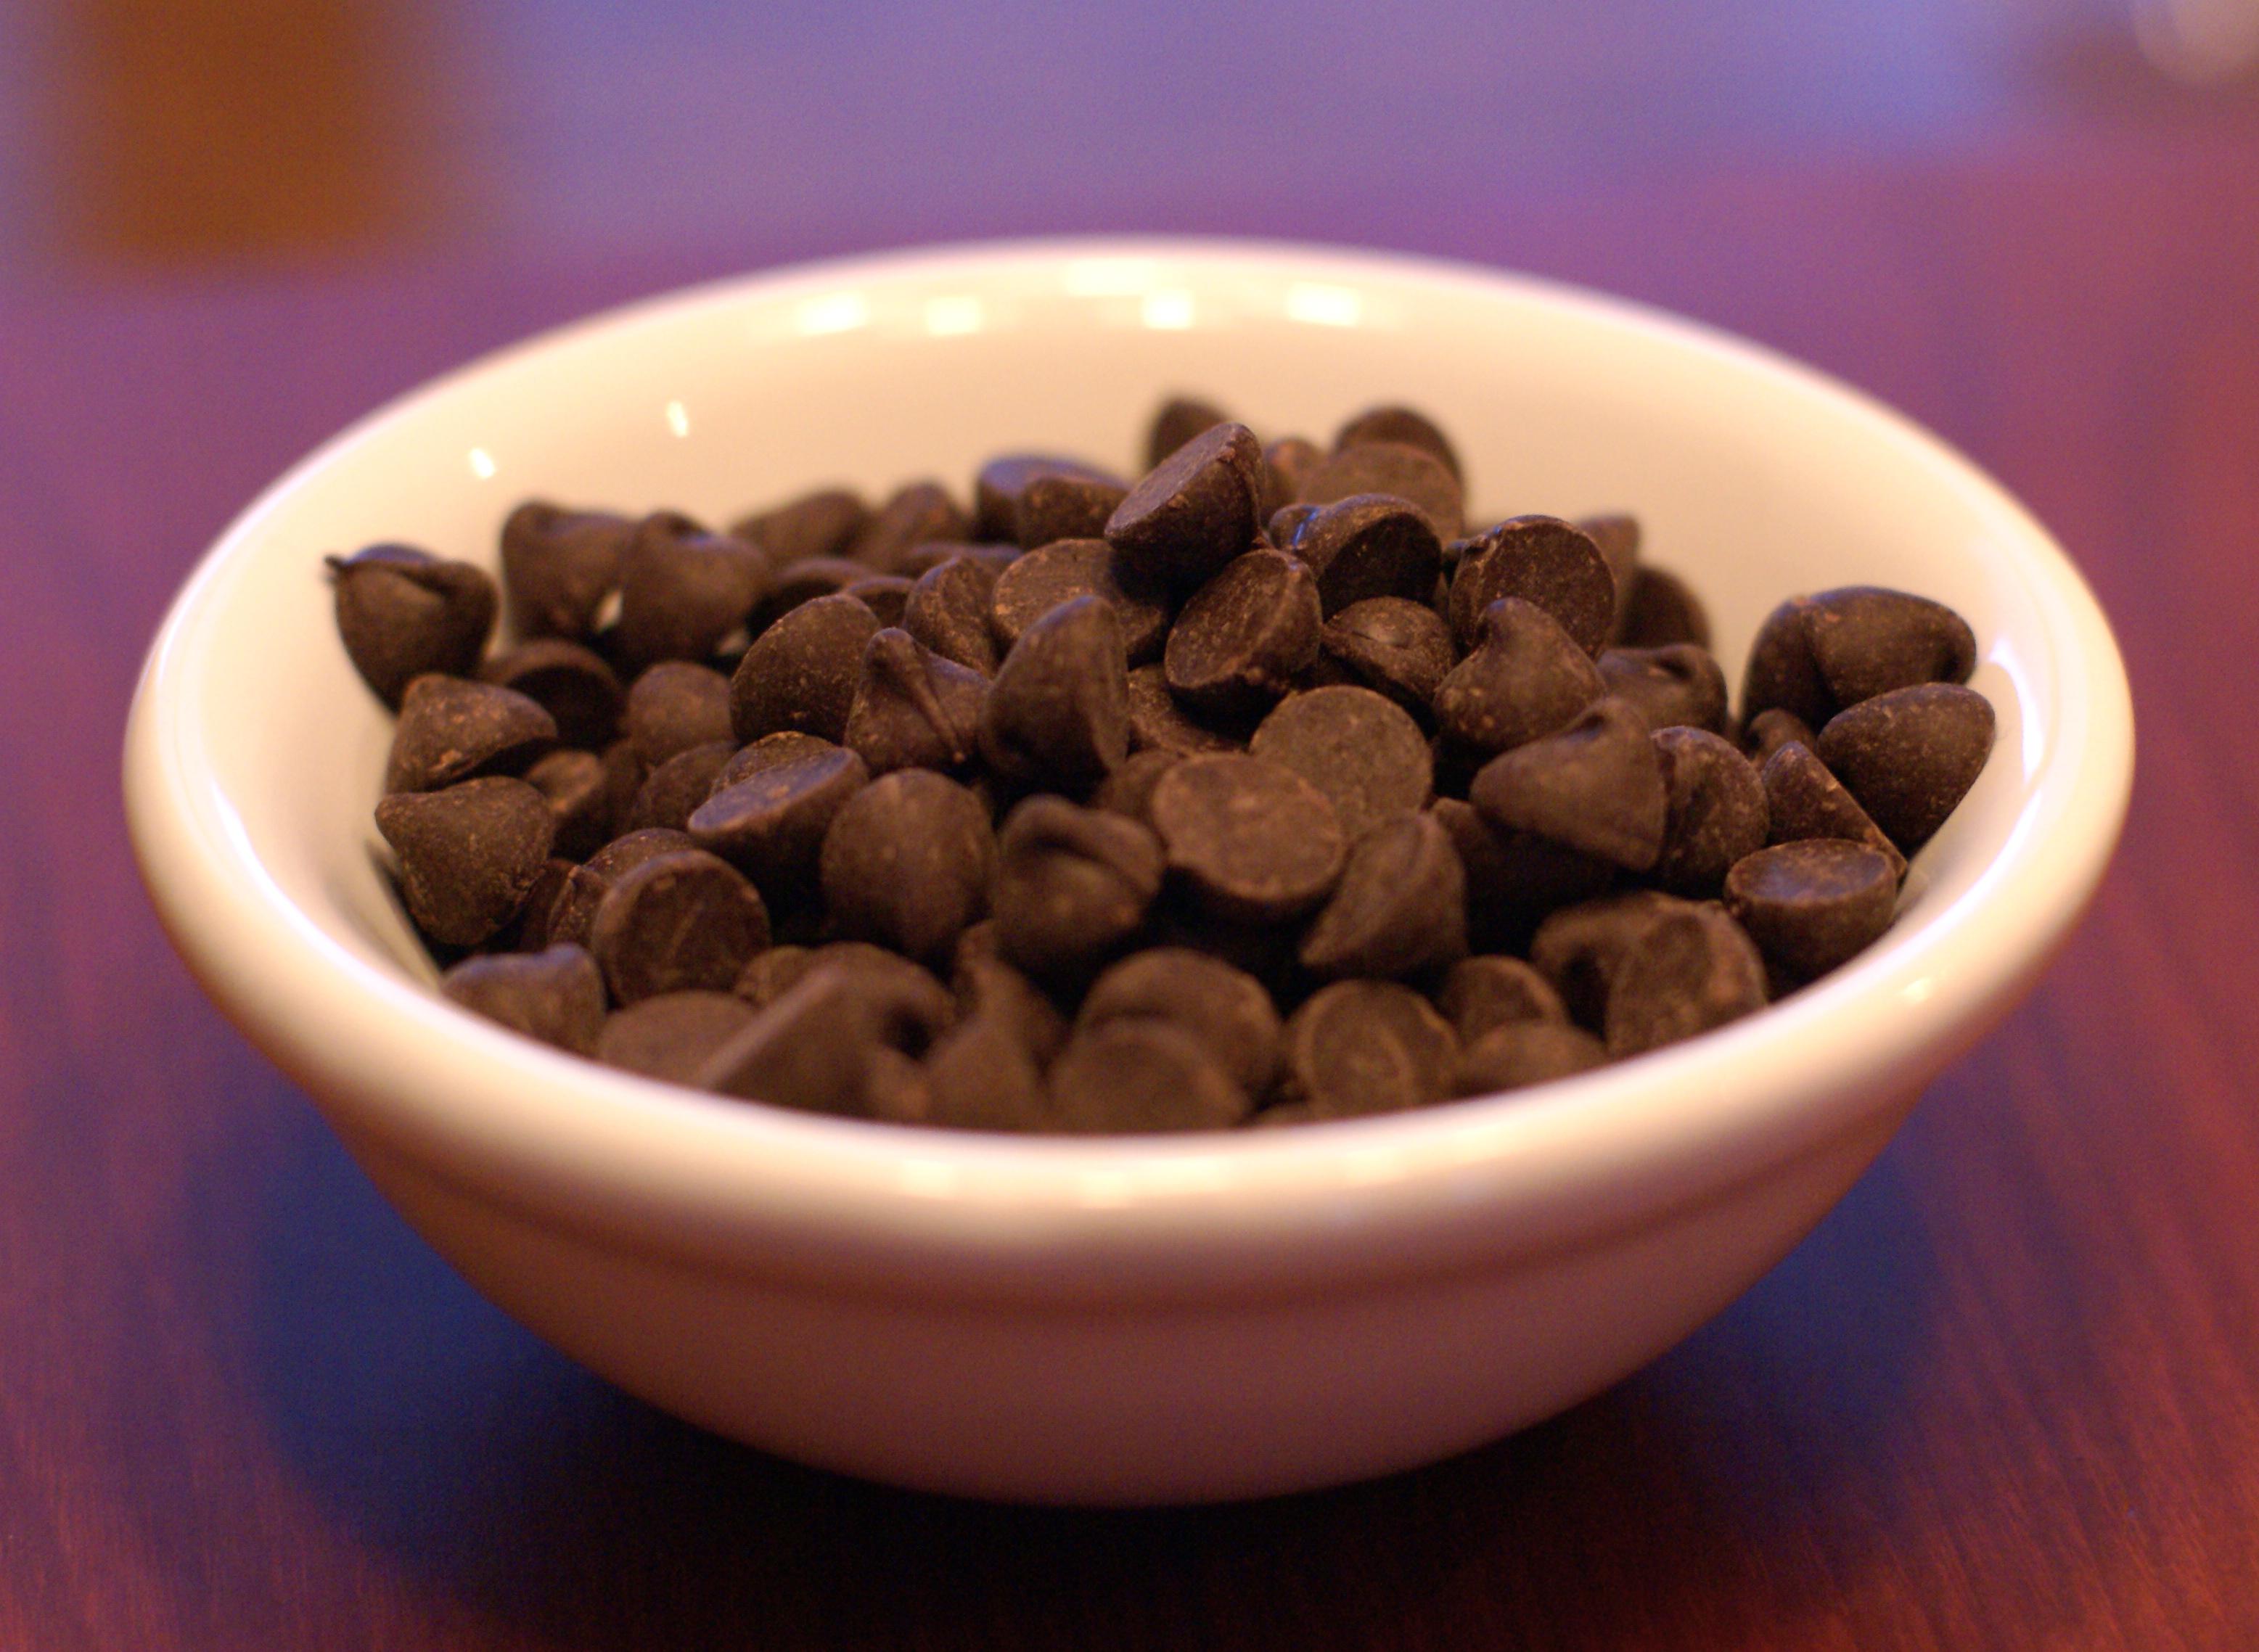
- Chocolate Chips
-

- Holiday Cookies

Just a touch of Salt, please
Happy New Year! What better way to celebrate the holidays and welcome 2011 than with candy? What about salted chocolate covered caramels… Dark chocolate… Ever try one? Friends of mine introduced them to me over Thanksgiving. I’m hooked. The rich, slightly bitter yet sweet dark chocolate encases a creamy gooey caramel center. Absolutely divine! But wait! Encrusted along the top is an accent of sea salt crystals that simply enhances the sweetness of this chewy delight. It really is an elegant piece of sweetness. I’m addicted and my youngest son, age 1, can’t seem to get enough. I almost have to hide in secret when opening the plastic box lid. The sound of the container opening is enough to make him snap his head up and come toddling over to me.
 Pulling out my camera, I attempt to get a shot showing off it’s sleek dark features enhanced with the sparkle of its salted crust. It’s a simple piece of candy. In my mind it renders itself to be a simple snap shot. One or two little caramel pieces positioned on black semi-glossy wood finish. Some few inches behind the caramel models, I place its teal labeled container. Interestingly, when I took the shot under natural light, the label reflected a subtle teal glow onto the table; thereby throwing reflective light behind my subject. I love when I discover little nuances! My favorite pic is the one I chose for my banner. Tasty! They were all gone in 3 days courtesy of my 1 year old and myself.
